


Core Features
AI Assistants
Create custom AI chatbots trained on your documents and deploy them instantly via short links or QR codes.
This feature is available on the Monthly and Annual plans.
Introduction to AI Assistants
AI Assistants let you create custom chatbots that can be shared with anyone via a Pxl short link or QR code. Visitors interact with your assistant through a branded chat interface directly in their browser — no app or login required.
You can train your assistants by uploading documents. Once uploaded, the assistant will use the content of those documents to provide more relevant and accurate answers to visitor questions.
Quick tip!
AI Assistants are a great way to provide instant support to customers, answer frequently asked questions, or guide visitors through your products and services.
Managing AI Assistants
All assistants are managed from within the AI Assistants panel. From here, you can create, configure, and remove assistants.
How to create a new assistant
- Log in to your Pxl dashboard
- Navigate to AI Assistants
- Click the Create Assistant button
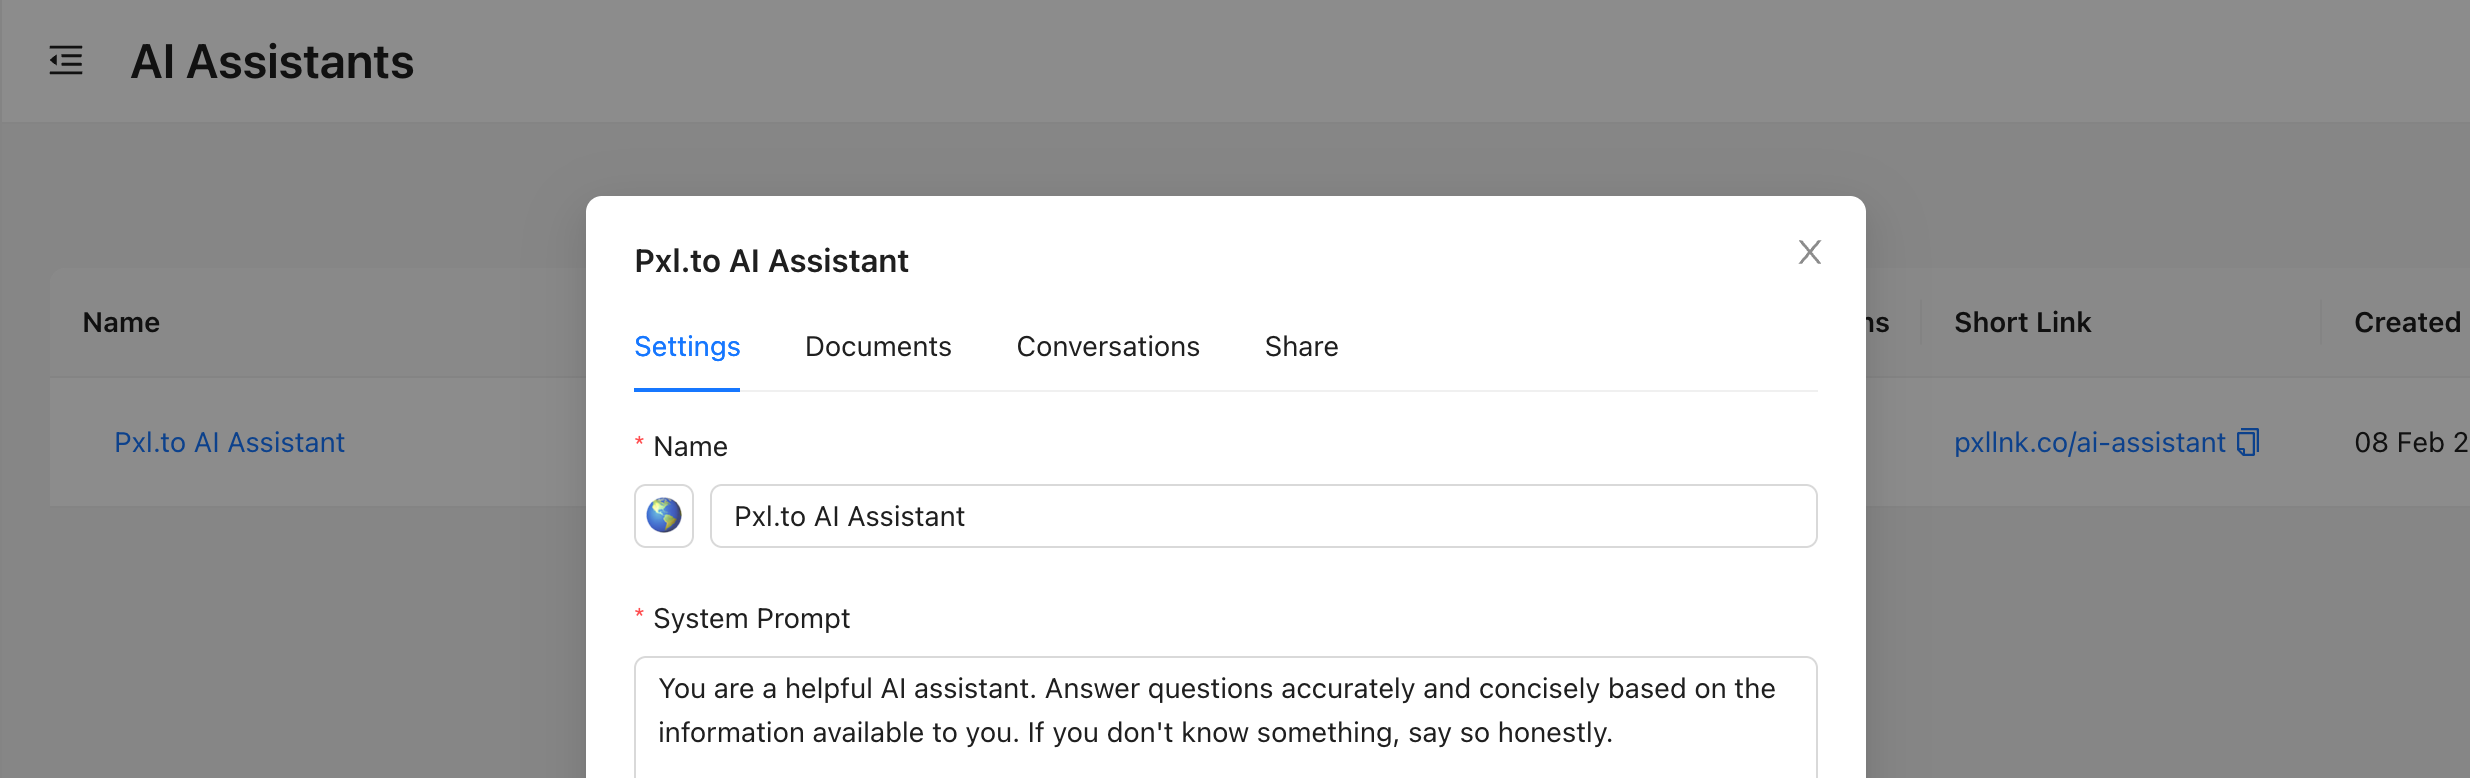
- Fill in the following fields:
- Name and emoji — Choose a name and icon for your assistant
- System prompt — Define your assistant's behavior and personality (e.g. "You are a helpful support agent for Acme Inc.")
- Welcome message — The first message visitors see when they open the chat
- Domain and route — Choose the short link URL for your assistant (e.g. pxl.to/my-assistant). You can use a custom domain if available
- Primary color — Set the accent color for the chat interface to match your brand
- Click Create to save
How to edit an assistant
- Click the assistant's name in the table to open the management panel
- In the Settings tab, update any of the fields described above
- Click Save to apply your changes
How to activate or deactivate an assistant
Each assistant has a status toggle in the table. When deactivated, the assistant's short link will no longer be accessible to visitors. Toggle the switch to activate or deactivate an assistant at any time.
How to delete an assistant
Click the delete icon next to the assistant you wish to remove, then confirm the action.
Be careful!
Deleting an assistant is permanent and cannot be undone. All associated documents and conversation history will be lost.
Training your assistant with documents
You can upload documents to your assistant so it can use their content when answering visitor questions. This allows your assistant to provide accurate, context-aware responses based on your own material.
Uploading documents
- Click the assistant's name to open the management panel
- Go to the Documents tab
- Drag and drop a file or click to browse your computer
- The document will be processed automatically
Supported file types: PDF, TXT, DOCX, MD. Each file can be up to 5 MB in size.
After uploading, the document will show one of the following statuses:
- Pending — Waiting to be processed
- Processing — Currently being analyzed
- Completed — Ready and available to the assistant
- Failed — An error occurred during processing
You should know!
After uploading documents, your assistant will automatically use their content to provide more relevant and accurate answers to visitor questions. There is no additional setup required.
Retrying failed documents
If a document fails to process, click the retry icon next to the document to attempt processing again.
Removing documents
Click the delete icon next to the document you wish to remove, then confirm the action. Once deleted, the assistant will no longer reference that document's content.
Sharing your assistant
Each assistant is automatically assigned a short link and a QR code when created.
- Click the assistant's name to open the management panel
- Go to the Share tab
- Copy the short link or download the QR code
The short link can be shared anywhere — in emails, on social media, on your website, or embedded in printed materials via the QR code. If you have a custom domain connected, you can use it when creating the assistant.
Viewing conversations
You can review all visitor interactions with your assistant.
- Click the assistant's name to open the management panel
- Go to the Conversations tab
- Click the message icon to view the full conversation history
- Click the delete icon to remove a conversation
Each conversation shows a preview of the first message, the total message count, and when the visitor was last active.
Limits
| Limit | Value |
|---|---|
| Assistants per workspace | 10 |
| Documents per assistant | 10 |
| Max file size per document | 5 MB |
| Message character limit | 4,096 characters |
| Messages per minute (per visitor) | 20 |
| Supported file types | PDF, TXT, DOCX, MD |